
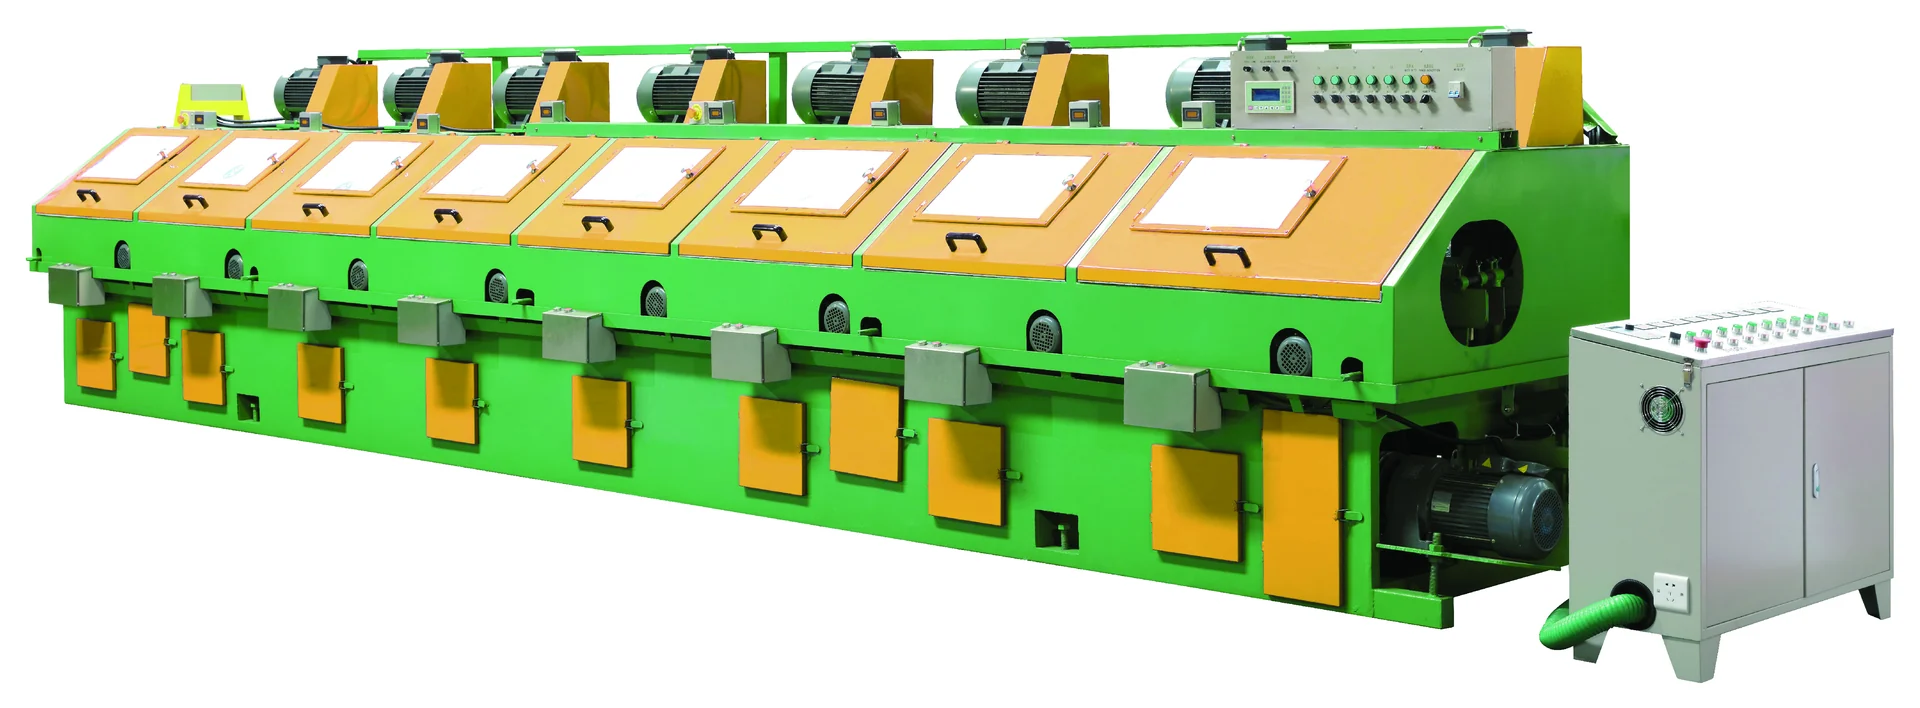
Specify a polishing finish with a reference sample or defined inspection requirement, the surface to process and a record of the starting condition. A finish name such as mirror, matte or brushed helps describe the appearance, but it does not give a complete acceptance instruction.
Use this guide once you know whether the job needs outside, inside or square-tube polishing. For that first decision, see polishing process boundaries. Here the output is a sample request and inspection record that the customer and equipment supplier can review together.
Before a polishing trial
- Identify the material, tube dimensions and exact surface to be processed.
- Keep appearance approval separate from any numerical roughness requirement.
- Agree the sample, inspection method and acceptance decision before interpreting the result.
Define the surface and starting condition
Mark the surface on a drawing or photograph. For an outside-polishing job, identify the exterior area and any areas to protect. For inside polishing, identify the bore area and the length to inspect. For square tube, label the faces and corners so a request for “all sides” is unambiguous.
Record the material grade, diameter or section width and height, wall thickness and length. Describe visible marks, the weld area and any coating or film. Keep an unprocessed comparison sample or an identified photograph when practical. Ask the supplier to confirm sample preparation and handling before dispatching material.
A photograph should show the whole piece as well as a close view of the relevant area. Label the orientation, sample ID and inspection location. Do not send only a close-up that leaves the supplier unable to identify whether it shows the outside, inside or a cut end.
Use a reference sample for appearance
A physical reference gives the trial a defined comparison. Assign it an ID, state which face or area represents the target and record who accepted it as the reference. If only photographs are available, identify them as photographs and agree whether a physical sample is needed before final approval.
Agree how the trial and reference will be viewed: lighting, viewing direction, distance and the area being compared. Record acceptable and unacceptable features in plain language, such as the agreed direction of visible polishing marks or the treatment of a particular marked area. These are project requirements to agree, not standard results promised for every machine.
The British Stainless Steel Association’s guidance on mechanically polished finishes explains why the final abrasive grit alone does not fully specify a finish. Its discussion concerns stainless flat products; it is useful for the specification principle, not as a tube-machine capability table.
Record roughness measurements separately
If the drawing requires a roughness value, include the parameter, unit, limit, applicable measurement specification and agreed inspection locations. Record the instrument and the measurement settings with the readings. Keep the numerical result beside the visual assessment so neither is mistaken for the other.
Mitutoyo’s surface roughness measurement bulletin distinguishes profile parameters and measurement conditions, including filtering and evaluation length. The bulletin references older standards; use it for these measurement concepts and have the inspection team identify the specification and edition required for the actual order.
For an inside-wall requirement, agree how the instrument will reach the locations to be checked and whether sample sectioning is needed. Do not assume that a reading taken at an accessible pipe end represents the entire specified length. Confirm any destructive sampling with the customer before it is performed.
The internal-polishing model tables help compare machine ranges. They do not publish a guaranteed roughness result. A model number, station count or spindle speed does not supply the missing inspection requirement.
Prepare the trial request
Use the following fields to describe the job. Leave a value unconfirmed rather than supplying an assumed measurement limit.
| Record | Information to include | Confirmation needed |
|---|---|---|
| Sample identity | Customer reference, drawing revision and sample IDs | Which pieces are incoming, target and trial samples |
| Material and size | Grade, diameter or section, wall thickness and length | Whether the proposed machine and sample arrangement suit the job |
| Processing area | Outside, inside or labelled square-tube faces; inspection locations | Areas included, protected areas and access for inspection |
| Starting condition | Identified photos and description of marks or weld area | Any preparation required before the trial |
| Appearance | Reference sample and viewing conditions | The features used to accept or reject the appearance |
| Measured finish | Parameter, unit, limit, measurement method and locations, if required | Instrument, settings and reporting method |
| Trial scope | Material supplied, sample quantity and required records | Trial arrangements, return of samples, timing and commercial terms |
Download the polishing sample and acceptance record (CSV). The blank sheet is for preparing a request and recording an agreed trial; it is not a certificate of machine performance. Copy the observation rows for each sample and inspection location so readings and decisions remain separate.
Review the trial result against the agreed record
Keep the returned sample linked to its incoming material, machine identification and trial record. Ask the trial report to identify the processing area and the conditions used. When a finish is acceptable in one area but not another, record both locations instead of selecting only the best photograph or reading.
Use separate decisions for appearance and any measured requirement. A simple review record can contain the sample ID, inspection location, reference or limit, method, result, reviewer and decision. If the method or limit was not agreed, mark the decision as awaiting clarification rather than describing the sample as passed.
For example, a trial could have an accepted appearance but no agreed roughness method. The visual decision can be recorded, while the numerical acceptance remains open. That record is more useful than a single “approved” box that obscures which requirement was checked. This is an illustrative review situation, not a MAXDO customer test result.
Connect sample approval to the equipment proposal
Record which material, dimensions, processing area and trial conditions the decision covers. Confirm what further assessment is needed for other grades, sizes or incoming surface conditions before relying on the same result. A sample approval should identify its scope rather than imply acceptance of every future production job.
Link the sample reference to the equipment proposal and its agreed inspection documents. For external machine selection, use the MA, ME and MG comparison; for inside polishing, keep the generation and model together.
MAXDO can discuss sample and drawing evaluation and sample testing for the proposed equipment. Send the completed record, drawings and identified photos through the project contact page. Sample arrangements, testing scope, timing and fees are confirmed for the individual project.